Concrete countertop samples, day 2
Today was the dress rehearsal, and I finally have pictures of concrete to post!
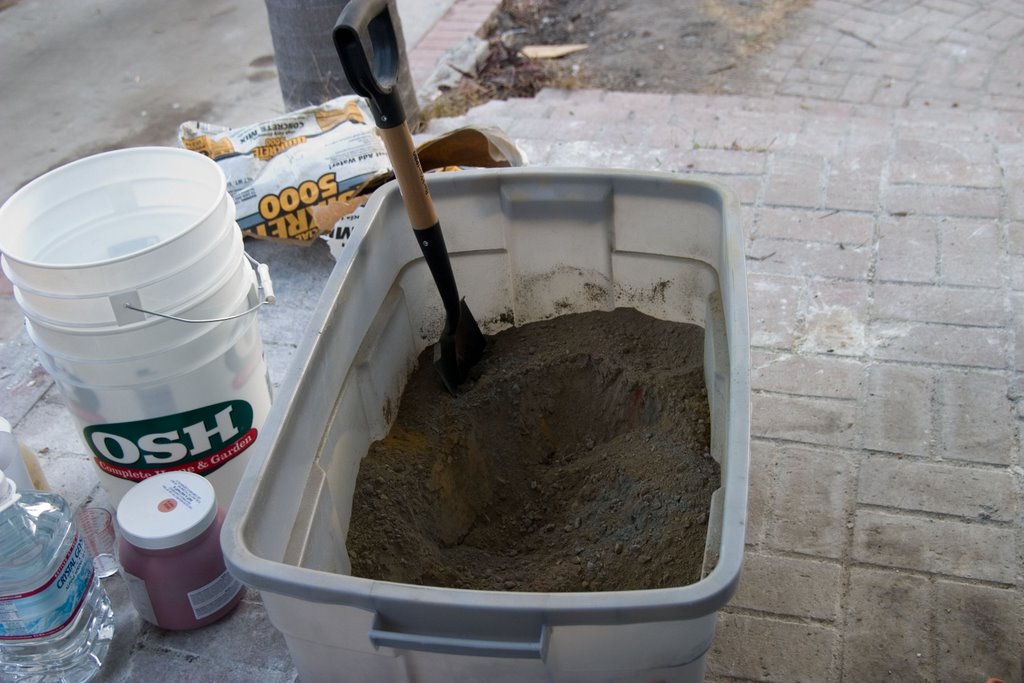
It was a grueling 11 hour day. The concrete has to set for about half an hour, and then you have to trowel continuously until it is completely hard. We finished troweling at 11:30 p.m. We started the day by cutting the rest of the melamine and making our molds. The concrete mixing was problematic - we put the dry ingredients first according to our instructions and if you've ever made a cake you know what happened when we added the wet. The dry caked to the bottom rock solid. We had to chip it out with a shovel. We also couldn't get a good mix because we were trying to mix it by hand with a powerful drill and a mixing paddle. It just wasn't strong enough. The mix was too dry and crumbly.
After making the mold (we used melamine because it won't leach water from the concrete) we had to caulk it so it was watertight and so that the concrete wouldn't leak.
 We reinforced the concrete with rebar, shown below. We used wire to bind more rebar to these pieces to fill the gaps, and then filled in the rebar with remesh ( a mesh of pencil thin rebar in a 6" grid).
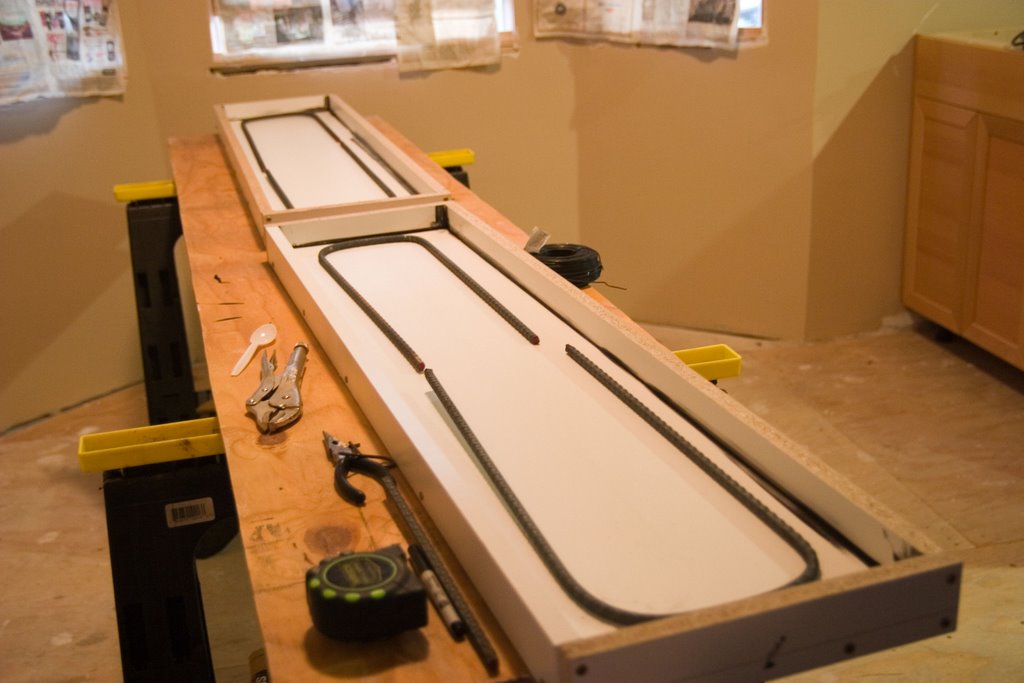
Here are the dry ingredients, mixed up and waiting for water.
 Here is some of the red dye we used.
 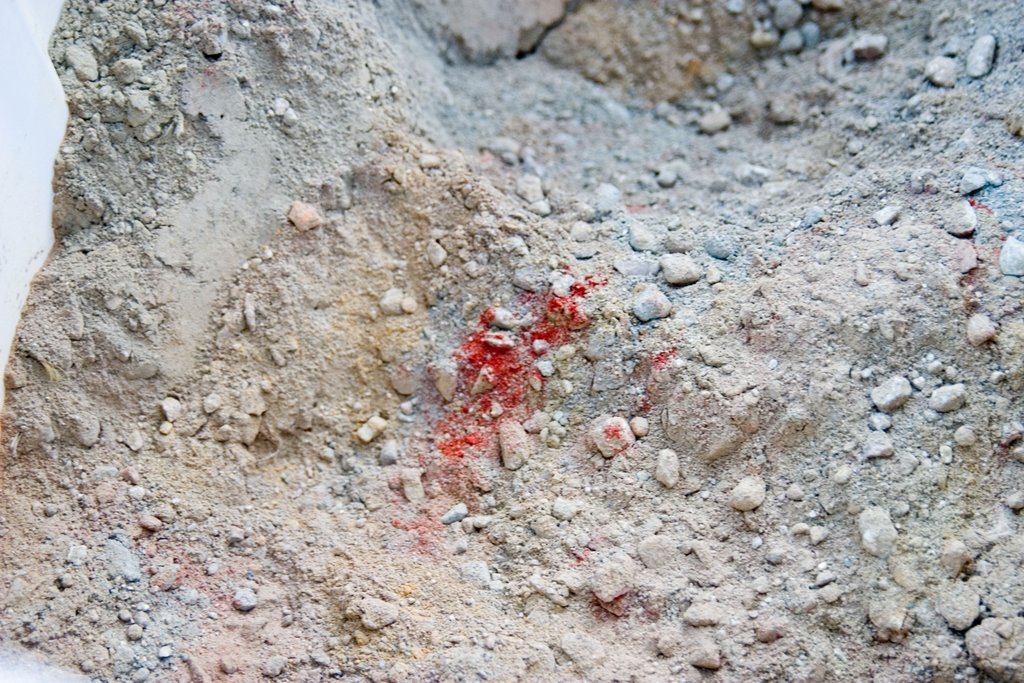 After the concrete sets for about half an hour, it will hold it's shape and you can carefully remove the mold.
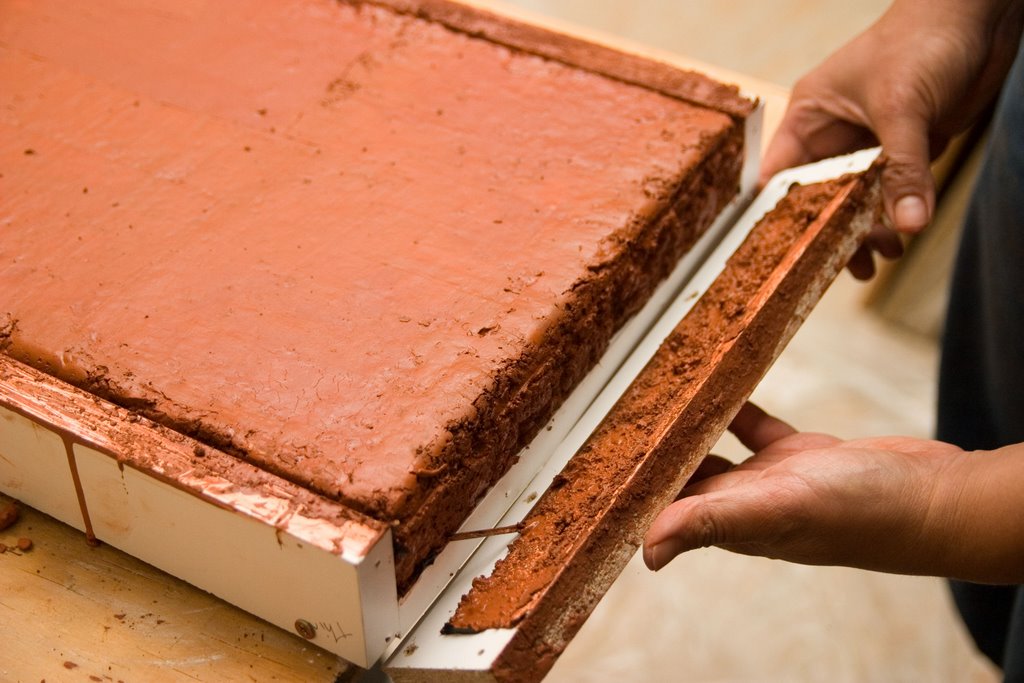
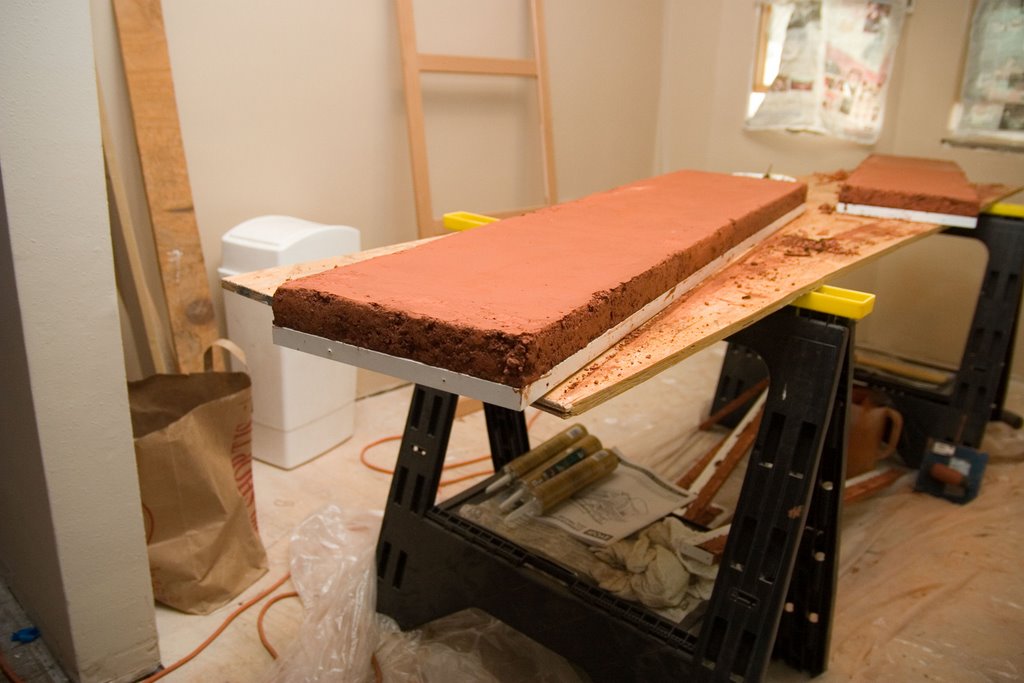
Here are the finished pieces after 2-plus hours of troweling. The edges are crumbly due to our bad mix.
 Here is the surface of the sample. This would be the countertop if we had been actually building them. You can grind (like rough sandpaper) and polish (like fine sandpaper) to smooth and flatten the finish. If you grind enough, the pebbles (aggregate) in the concrete will show up and it will have a terrazzo look.
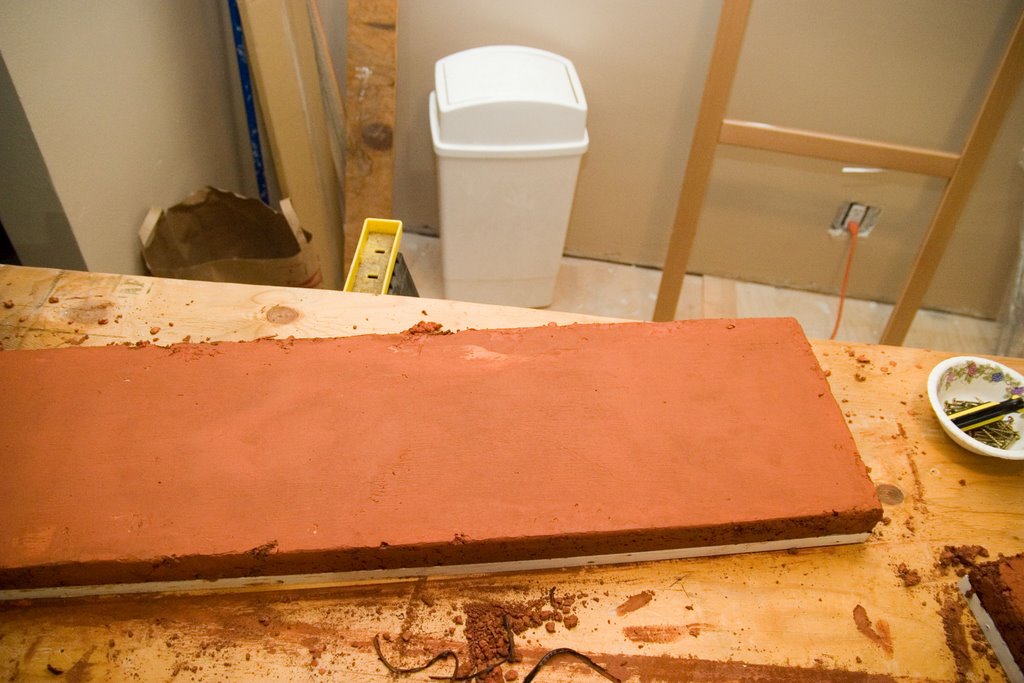
posted by MandC @ 11:46 PM
0 comments
![]()

0 Comments:
Post a Comment
<< Home